
By Wood-Mizer, Canada
February 23, 2023
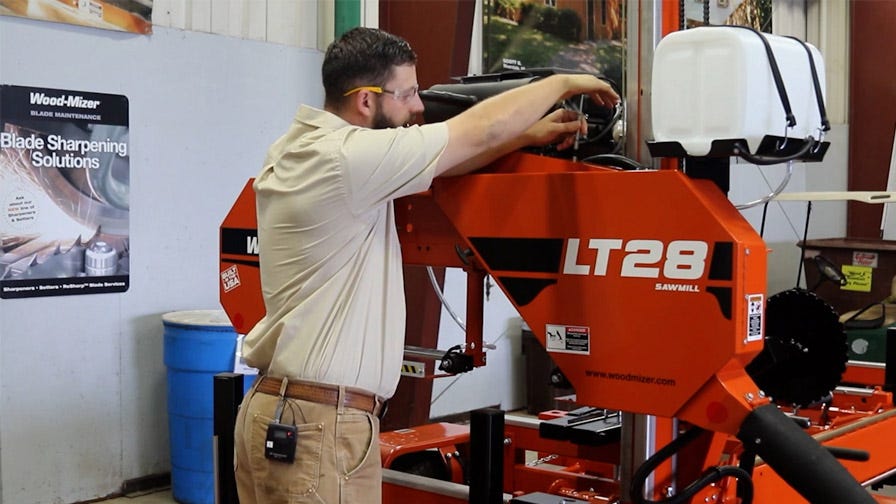
Need to learn how to check your drive belt tension for an LT15, LT28, or LT35 portable sawmill made in 2016 or after? Here are Wood-Mizer’s step by step instructions on checking your drive belt tension on any of these models.
How To Check Drive Belt Tension for 2016+ LT15, LT28, and LT35 Portable Sawmills:
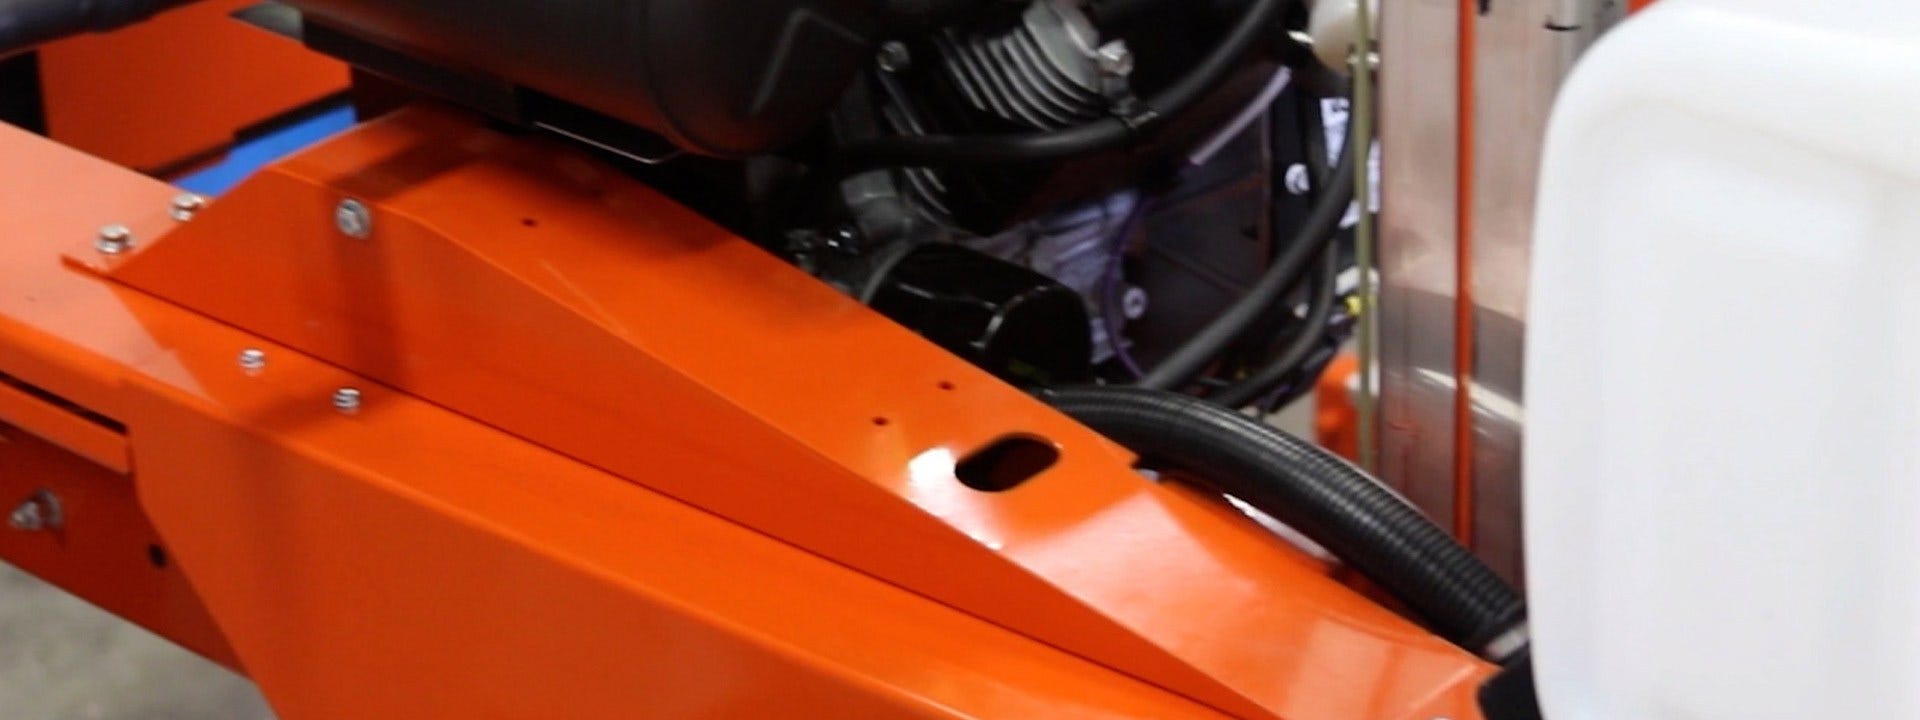
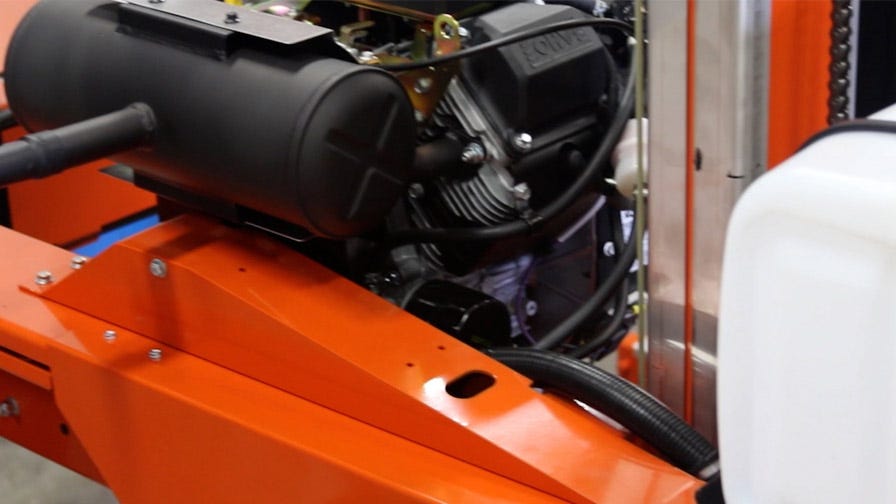
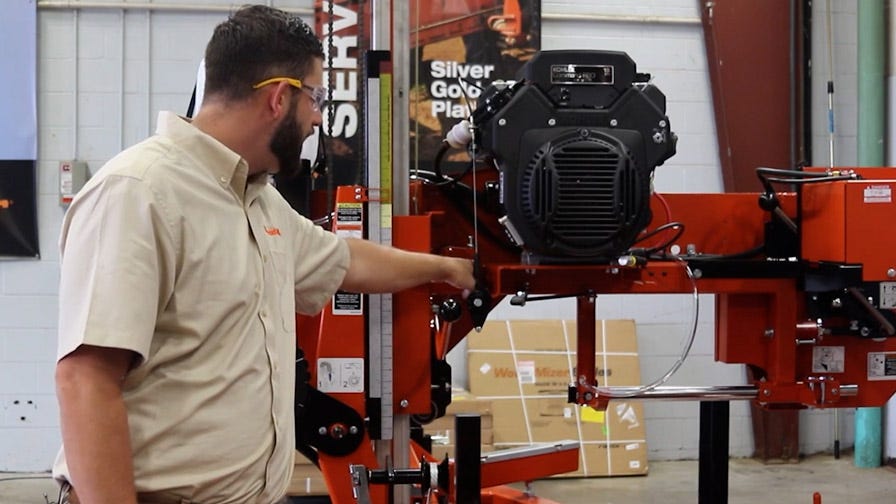
1. First, remove the “access cover plate” to allow visibility of the drive belt. To remove the plate, you will need to locate and loosen the two 7/16 inch head drive bolts attaching the plate. Since the bracket is slotted, you will only need to loosen the bolts. To do so, you will need a 7/16 inch socket and ratchet.
2. Now that the drive belt is exposed you need to tension the drive belt.
3. Once you have tensioned the drive belt, use a Drive Belt Tension Gauge to check the tension of the belt.
For any of the LT15 sawmill models you will need ½ inch of deflection with 14lbs. of force. But, for the LT28 and LT35 sawmill models, you will need 7/16 inch of deflection with 14lbs. of force. Feel free to pre-mark your tool where these measurements will be when decompressing with the tool.
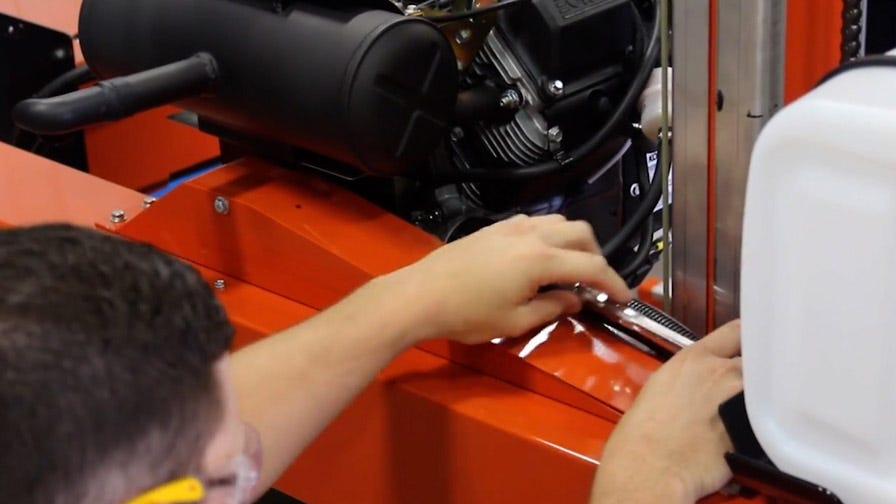
4. Next, place the rubber stopper of the Drive Belt Tension Gauge in the palm of your hand. Place the tool on the center of the tension belt pressing down until that 7/16 or ½ inch mark is flush with the top of the access hole.
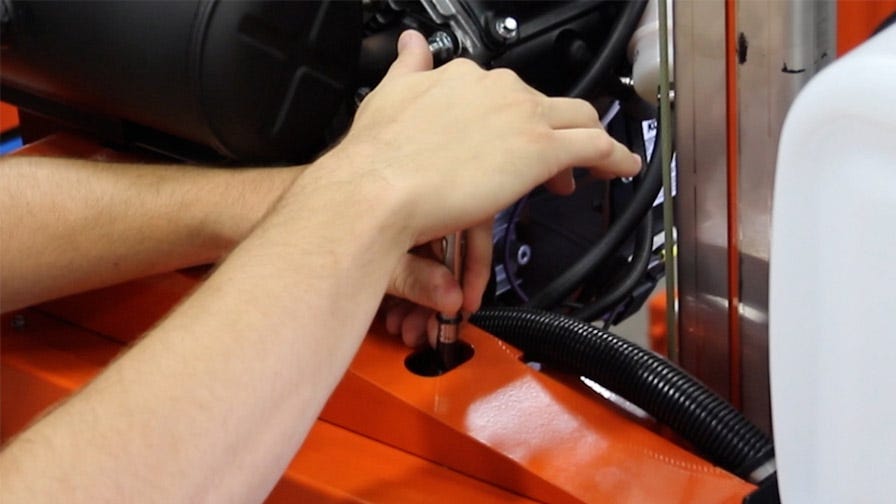
5. Now check your poundage reading and make sure it is at 14lbs.
If Tension is Not Correct:
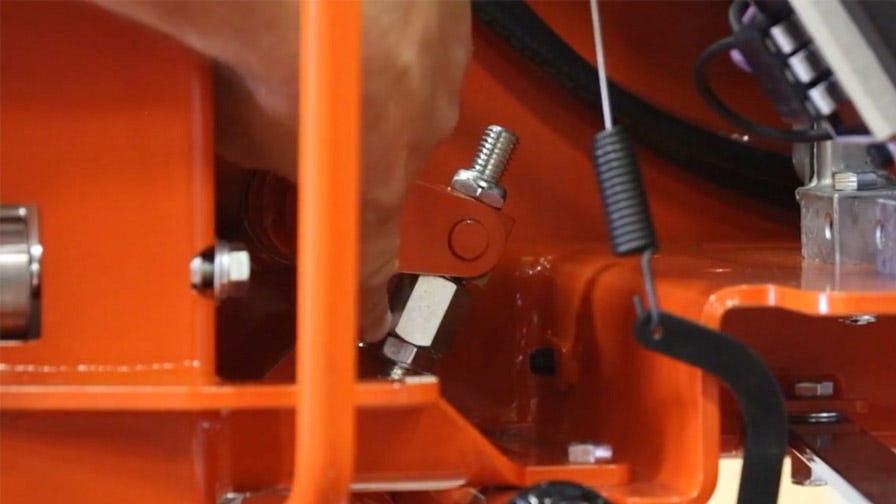
1. Now, if your belt tension is not correct you will need to step to the backside of the sawmill (from the operator’s position) and adjust the linkage jam nuts and hex nuts so that you can reach the proper tension.
2. Remove drive belt tension using the engagement handle then, using a ¾ x 7/8 inch open end wrench, adjust by loosening the jam nuts on the bottom. Then, locating the large hex nut at the top, turn it, as viewed from the top, counterclockwise to tighten it.

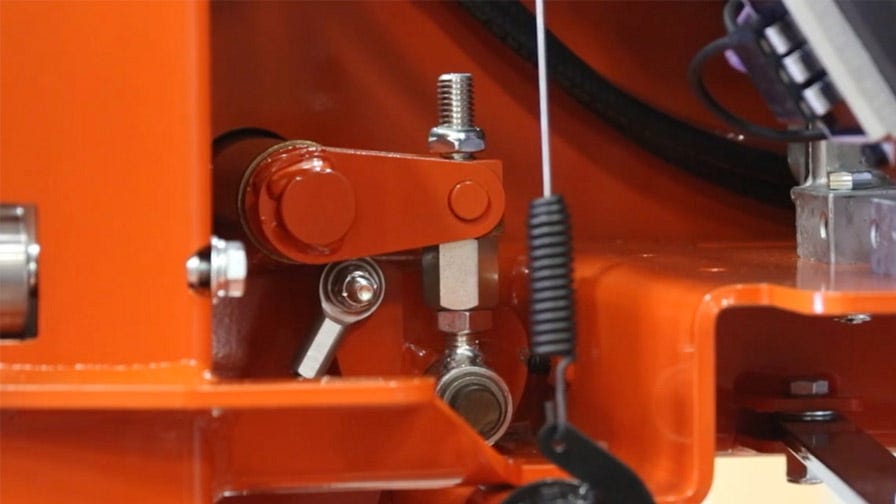
3. Then retighten the jam nuts, retention the belt, and check the adjustment again using the steps above.
4. Once the belt is tensioned correctly, make sure there is a small gap at the top of the jam nut.
If you have any questions please contact Wood-Mizer.